Joining a Community Garden Plot
Discover how to find and join a community garden in your area. Learn about plot allocation, shared resources, and building connections with fellow gardeners.
Learn how to construct and prepare a raised bed garden from the ground up. We'll walk you through materials, sizing, soil preparation, and planting your first crops.
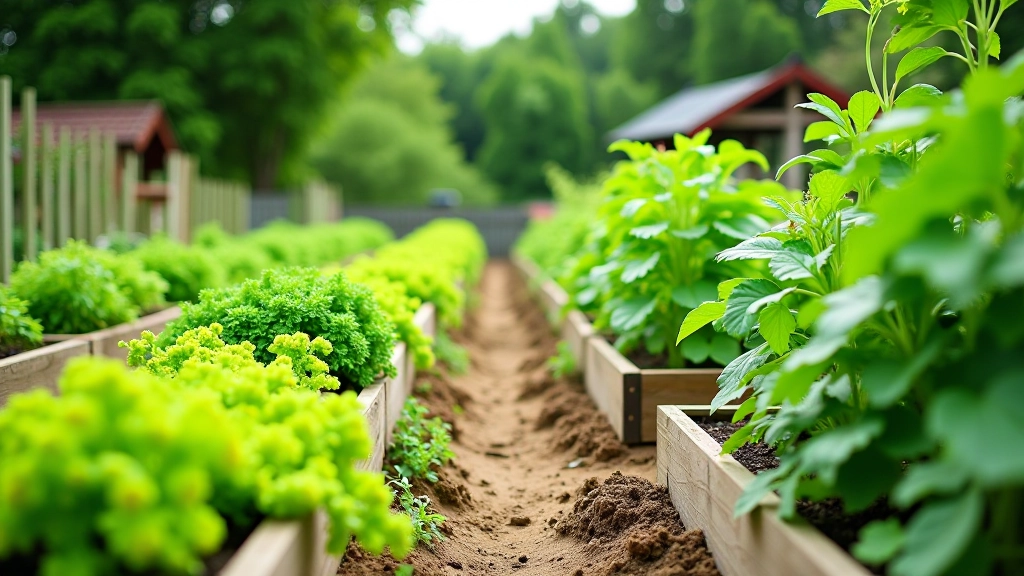
Raised beds are one of the most practical ways to grow vegetables. They're not complicated to build, but they make gardening so much easier. You'll have better soil control, less back strain, and genuinely better results compared to ground-level planting.
Whether you've got a small balcony or a spacious backyard, raised beds adapt to your space. We've seen everything from simple wooden boxes to elaborate multi-tiered setups in Alytus community gardens. The good news? You don't need anything fancy to get started.
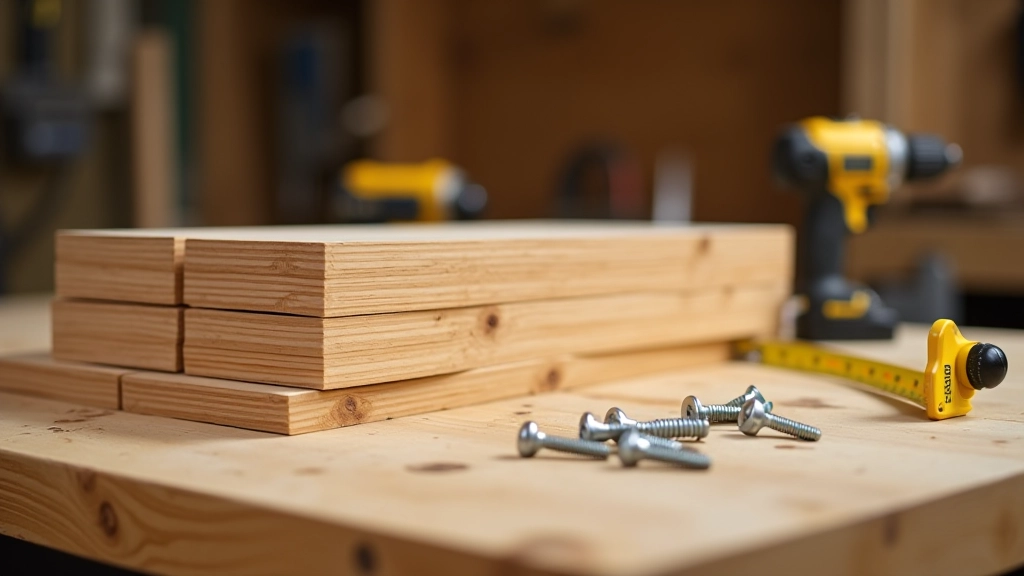
The frame of your raised bed is everything. Cedar and redwood are popular because they resist rot naturally — you're looking at 10-15 years of use without replacement. They cost more upfront, but they last. Untreated pine works too, though it'll need replacing in about 5-7 years.
What we don't recommend? Pressure-treated wood from the old days. Modern pressure-treated lumber is actually safe, but there's no reason to use it when cedar's not that expensive. Composite materials exist too, but they're pricey and honestly not necessary for a beginner setup.
This article is informational and based on common gardening practices in Lithuanian climate zones. Specific techniques may vary depending on your local soil conditions, sunlight, and growing season. We recommend consulting local gardening resources or visiting your community garden for site-specific advice. Results will depend on your location, maintenance, and individual gardening practices.
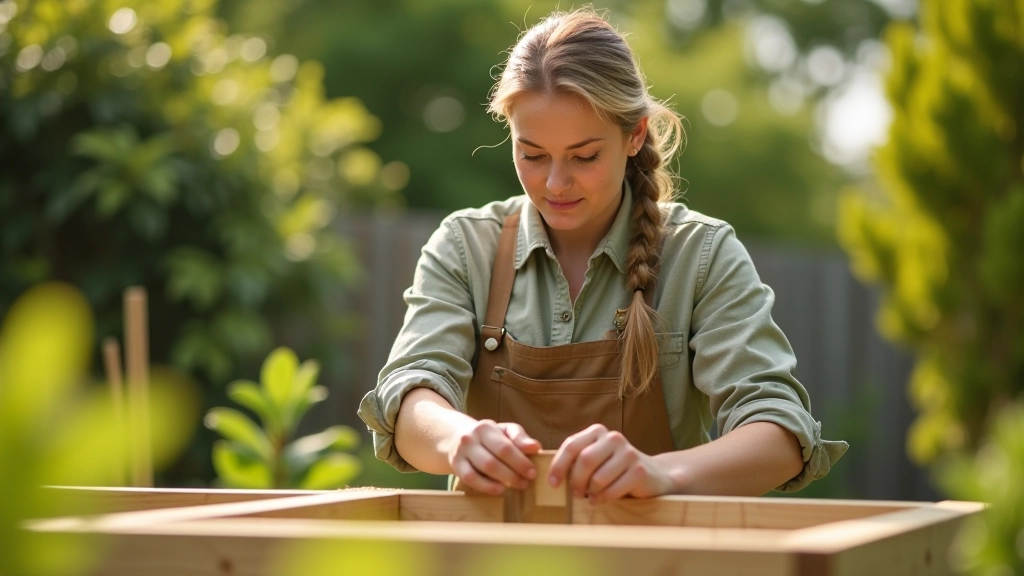
Assembly is straightforward. Lay two of your boards parallel, about 8 feet apart. Position the other two boards perpendicular to create a rectangle. At each corner, use 3-inch screws to lock everything together. We recommend four screws per corner for stability.
Don't use nails — they'll eventually loosen as the wood settles and shifts. Screws hold much better. A cordless drill makes this job quick, though you can hand-drive them if needed. The whole assembly usually takes 30-45 minutes once you've got everything laid out.
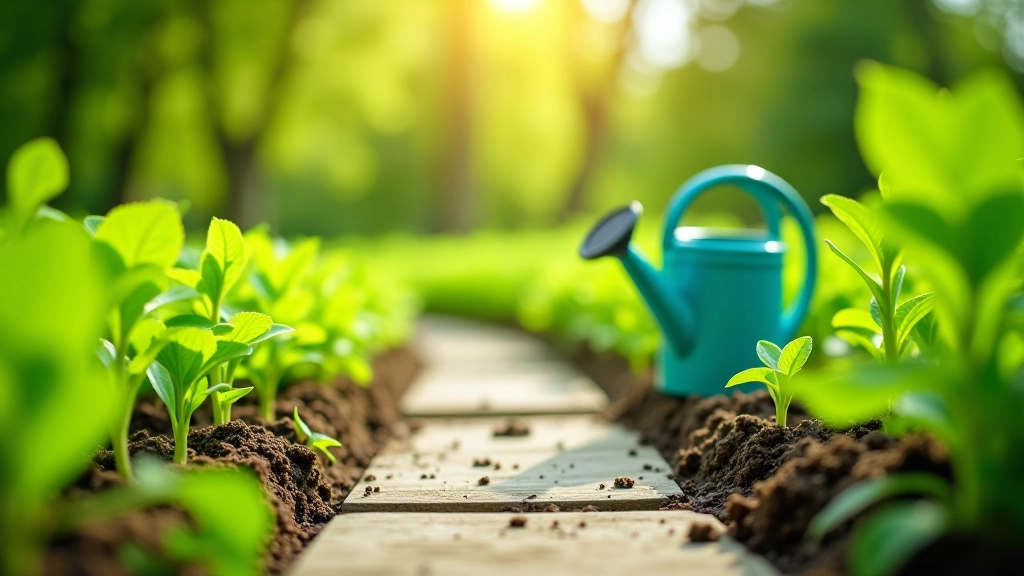
Set your frame where you want it before filling. Moving a full bed is miserable. Pick a spot with 6-8 hours of direct sunlight daily for vegetables like tomatoes and peppers. Leafy greens tolerate partial shade better.
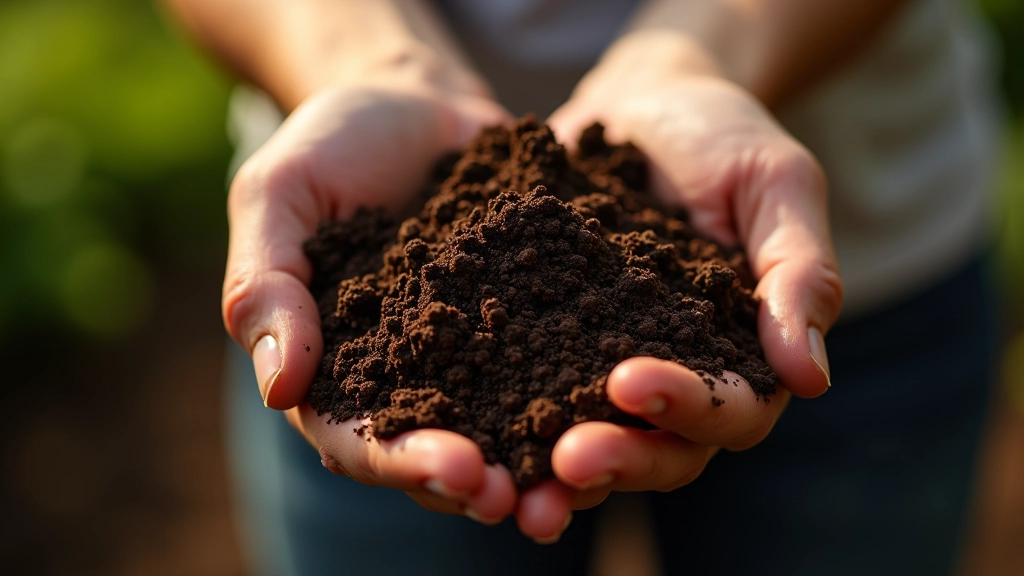
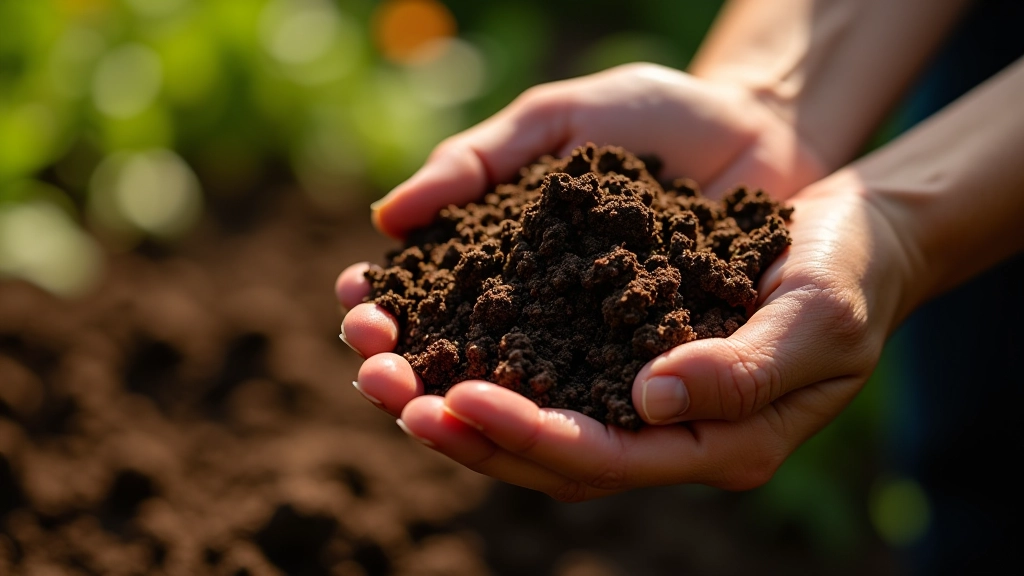
This is where raised beds really shine. You're not limited by whatever's already in your ground. A standard 4x8x10 inch bed needs about 32 cubic feet of soil. We typically recommend a mix: roughly 40% topsoil, 40% compost, and 20% perlite or coarse sand for drainage.
Buy from local suppliers if you can — it's cheaper and better for your region's plants. Alytus area gardeners have had great success with mixes that include Baltic peat, but honestly you don't need anything fancy. Good quality topsoil plus finished compost works great. Just avoid cheap soil that's mostly clay.
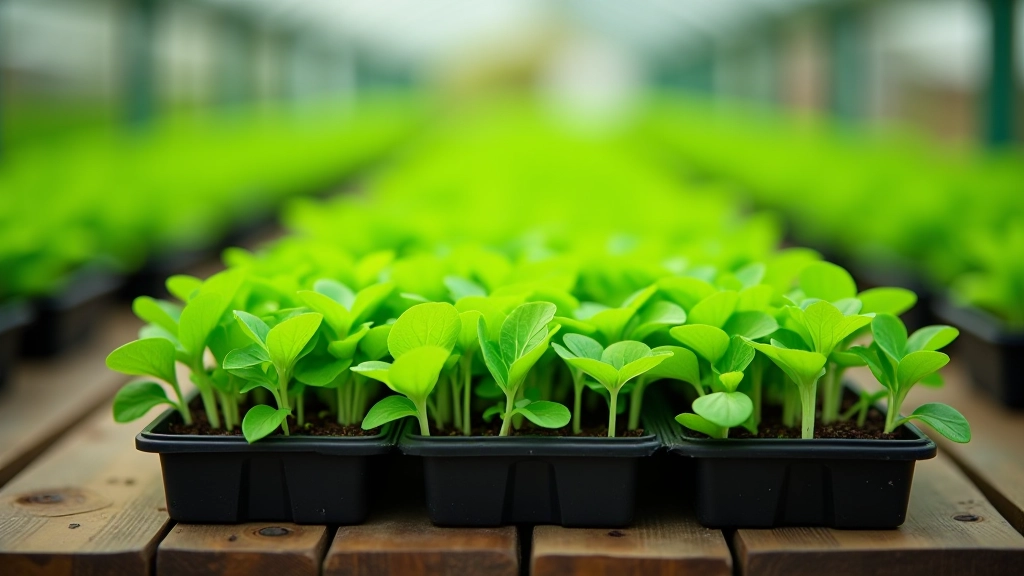
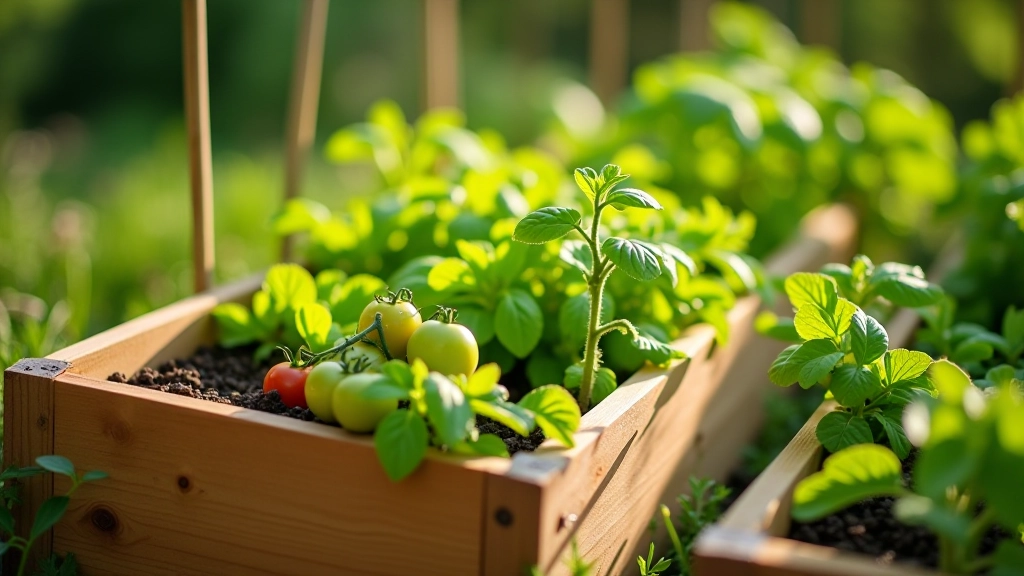
Don't overthink crop selection. Lettuce, spinach, tomatoes, peppers, and beans are reliable starters. Plant seedlings rather than seeds for your first year — you'll see results faster and get more confidence. Most vegetable starts are cheap at local garden centers.
Spacing matters. A 4x8 bed gives you room for 2-3 tomato plants, or a whole row of lettuce that you'll harvest within 6-8 weeks. Check the planting instructions that come with your seedlings. Water regularly — raised beds dry out faster than ground gardens because there's no underground moisture reserve.
By late June or early July, depending on your planting date, you'll have actual vegetables to harvest. It's genuinely satisfying. That first tomato you grow yourself? It'll taste better than anything from a store.
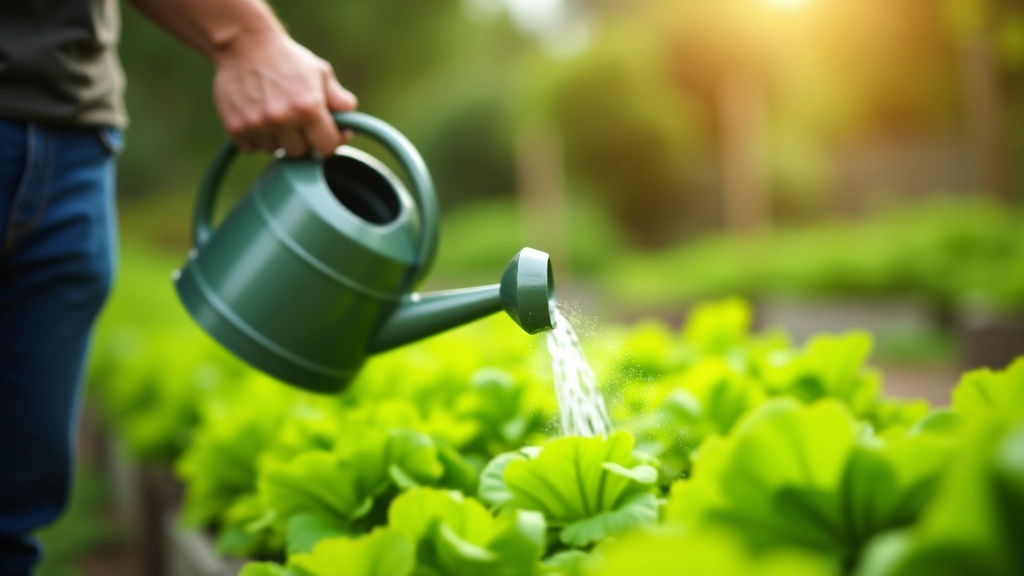
Once you're growing, maintenance is minimal. Water when the top inch of soil feels dry. Weeds are easier to manage in raised beds because your soil is cleaner to start with. Pull them when you see them — don't let them establish.
Add compost annually. Every fall, after harvest, top your bed with 2-3 inches of finished compost. This replaces nutrients your plants used and keeps soil healthy long-term. Year two and beyond, your bed performs even better as the soil matures.

You've got everything you need to create your first raised bed garden. Start small, learn as you grow, and enjoy the process. The Alytus community garden community is welcoming — don't hesitate to ask questions.
Explore More Gardening Guides